One decorated corner can make a better Halloween story than an unexplained room-wide montage. A small area gives viewers a visible starting condition, a manageable set of decisions and a result they can compare fairly. Choose a shelf, table or unused wall section and show the actual work that changes it.
Plan around the people who live there. The display should fit normal movement, household routines and the space you can safely use. The filming schedule serves the project; it should not force you to leave a half-built set across a doorway overnight.
Start with a measurable boundary
Photograph the undecorated area from the position you will use for the final comparison. Record its dimensions if those explain why you chose particular items. Mark the tripod location with a removable cue so the before and after use comparable framing.
Write a simple brief: “A reusable Halloween shelf with one focal object, warm battery lighting and enough clear space for the everyday storage.” Choose a real spending limit, including small supplies that are easy to forget. Separate owned, borrowed and newly purchased pieces in your notes.
This does not need a dramatic shopping trip. A display built from a few existing items can teach color balance, grouping and light placement. The explanation becomes useful when you show why something moves or disappears, rather than pretending every first arrangement was the final one.
Film decisions as well as installation
Capture the empty area, a first arrangement, a correction and the finished result. At each stage, name the specific decision. “The tall branch blocks the picture, so it moves left” gives viewers more than a time-lapse of hands passing through frame.
| Stage | Shot | Information to include |
|---|---|---|
| Before | Fixed wide view | The area and its everyday function |
| First arrangement | Medium view of grouped objects | Focal point and reused pieces |
| Revision | Matched view before and after the change | What was blocked, crowded or distracting |
| Lighting | Detail plus a wide view | Placement and whether lights suit the location |
| Finished display | Same position as the opening | Actual result under comparable exposure |
| Reset or storage | Brief practical view | How pieces come down and will be reused |
Keep the camera away from the installation path. Film a tight detail after you have finished the physical adjustment rather than balancing equipment in a place where you need to work.
Make the safety choices part of the design
Use lighting and materials appropriate to the location, following their instructions. Keep cables away from walking routes and inspect the actual hardware before the shoot. Do not imply that a decorative product is suitable outdoors simply because it looks weather-resistant in a closeup.
The NFPA's Halloween safety guidance recommends keeping exits clear, placing combustible decorations away from heat and using battery-powered light in pumpkins. Those are useful boundaries for a home display and the temporary filming set.
If children or pets use the room, choose a location and arrangement that keep small or fragile pieces out of their normal reach. A removable display may be preferable to hanging objects across an active doorway. Show your actual choice without presenting it as a guarantee that every similar setup is safe.
Keep the budget honest
Record the actual price of new items and supplies. If an object came from an earlier project, say that you reused it instead of treating it as a zero-cost option everyone already owns. Include mounting materials, batteries and other supporting items in the explanation when they affect the total.
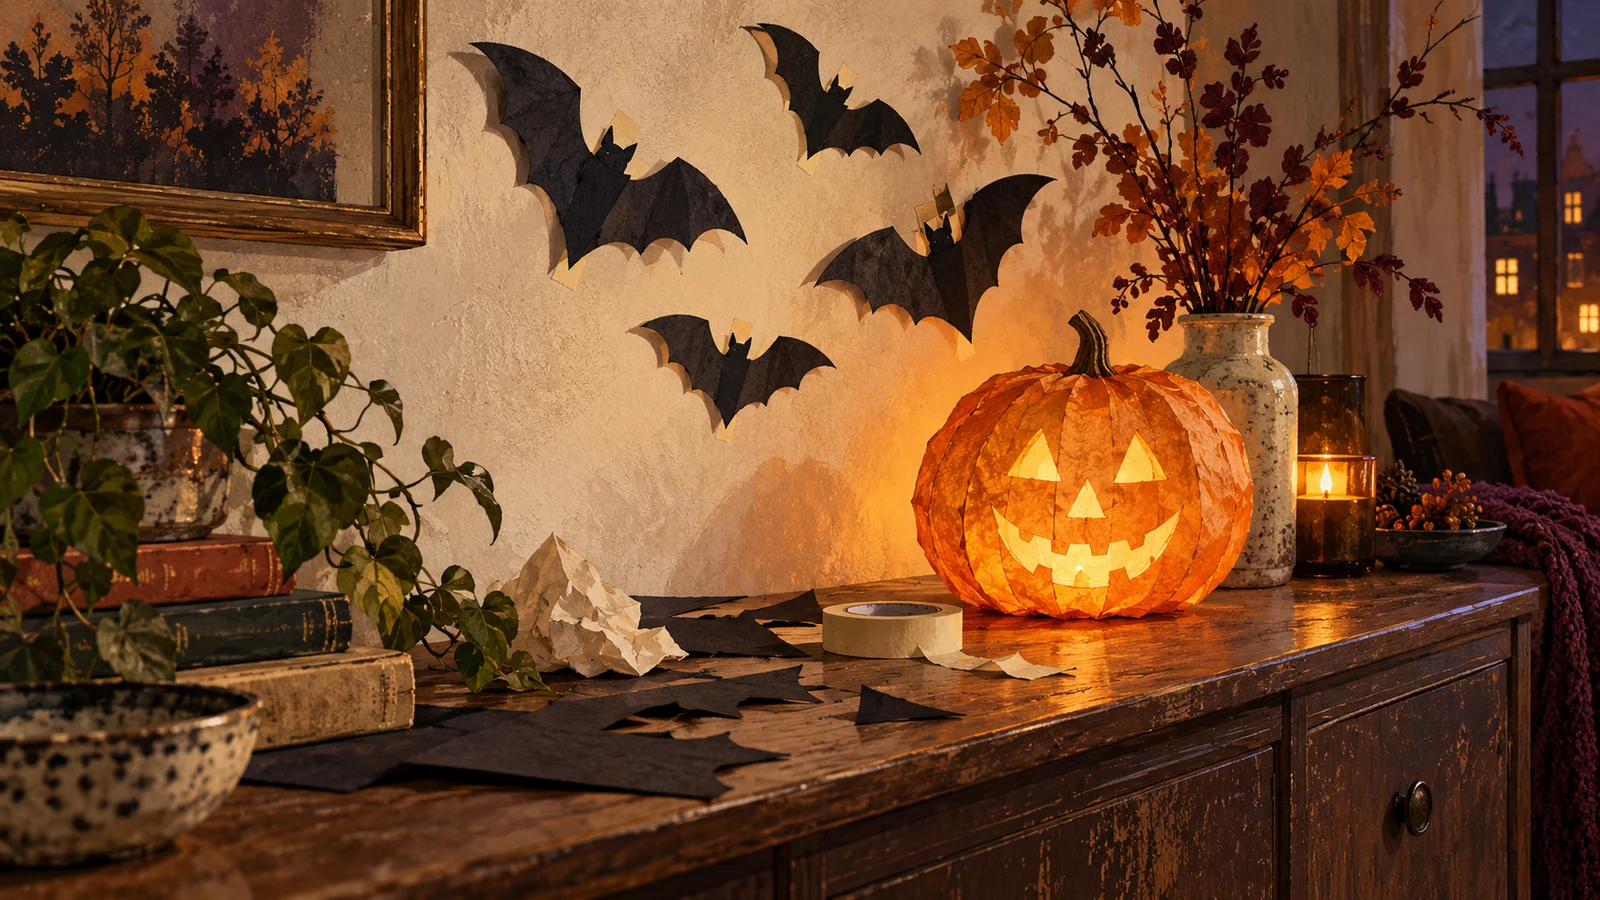
For a shelf example, the first version might use one large paper silhouette and several smaller shapes. The revised version could remove half the small shapes so the large one reads clearly. The improvement comes from arrangement rather than an additional purchase. Show that choice in the progress story.
Avoid giving a current price or inventory claim without checking it near publication. A useful alternative is to describe dimensions and purpose so viewers can adapt an available object instead of searching for an exact discontinued item.
Let the reveal retain real detail
Film the final comparison in the same base light as the opening. Then add a separate evening view to show the decorative lighting. That order lets viewers inspect the arrangement before the atmosphere changes.
Disclosure: Angry Media operates STIS and publishes NicheFrame. The seasonal STIS album linked below is an option to preview for the reveal alongside other licensed music or a natural-sound edit. Keep spoken budget and installation notes clear; use the music where the picture already explains the change.
STIS spooky season halloween sounds
Include the reset
Show how the display returns to ordinary use and where reusable parts will be stored. Label delicate or assembled pieces so next year's setup does not depend on remembering the footage. A short reset shot can become a useful follow-up later in the season.
Review the before and after, budget notes and safety explanation together. The finished story should show a believable improvement, the choices that produced it and the practical cost of living with the display. That makes one Halloween corner a useful project rather than a fleeting reveal.
For larger projects, the home makeover progress story guide helps preserve the same decision-based structure.